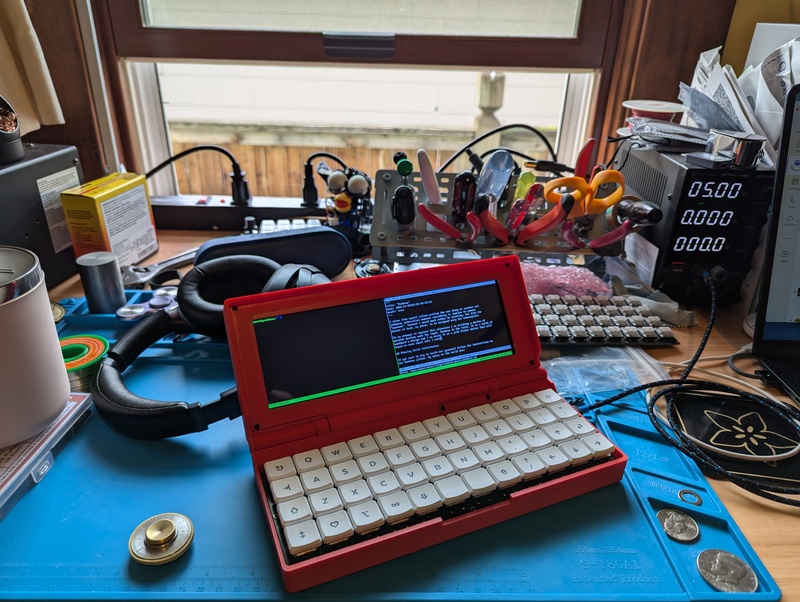
I often find myself sitting and waiting for one thing or another. In these interstitial moments, I succumb to the impulse to consume ‘content.’ Instead, I would much rather be creating, but I find the device at hand, my phone, is designed only for consumption.
In an attempt to improve this situation, I am building a series of portable devices made for input. Penkesu is the first. It is a handheld computer built from another’s design which I am using as a pathfinder device to learn more about what I want.
Missing Build Instructions
If you want to try to build one yourself, follow the instructions on the Penkesu GitHub. My notes on the build are:
- The bill of materials omits the needed USB cables.
- It can be very hard to fit a USB connector for the keyboard in the case.
- A switch is needed for power on/off.
- The screen is very heavy, and the hinges do not support it adequately.
- It is not clear what orientation the hinges should be installed in.
Missing USB Cables
Display Power
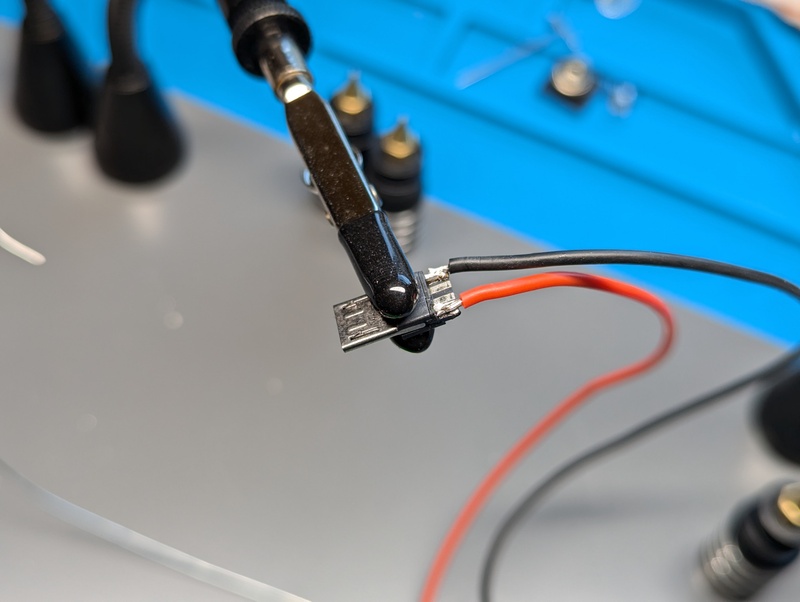
To assemble the computer, you will need a power-only cable with a micro USB connector to supply the display. I would suggest making this yourself to minimize the diameter of the cable, as it has to get through the hinge along with the DVI ribbon cable.
I assembled mine out of connectors seen in the photo blow and silicone wire. The other end of the cable attaches to the power output on the board.
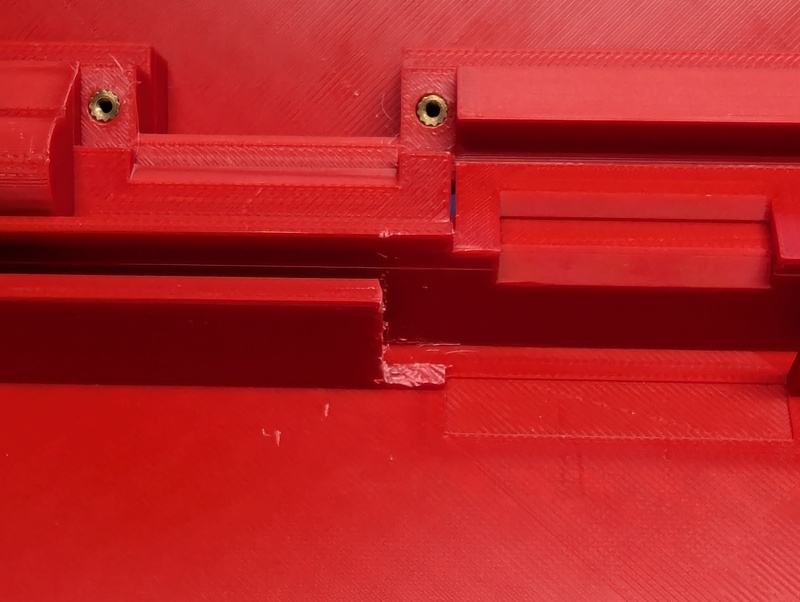
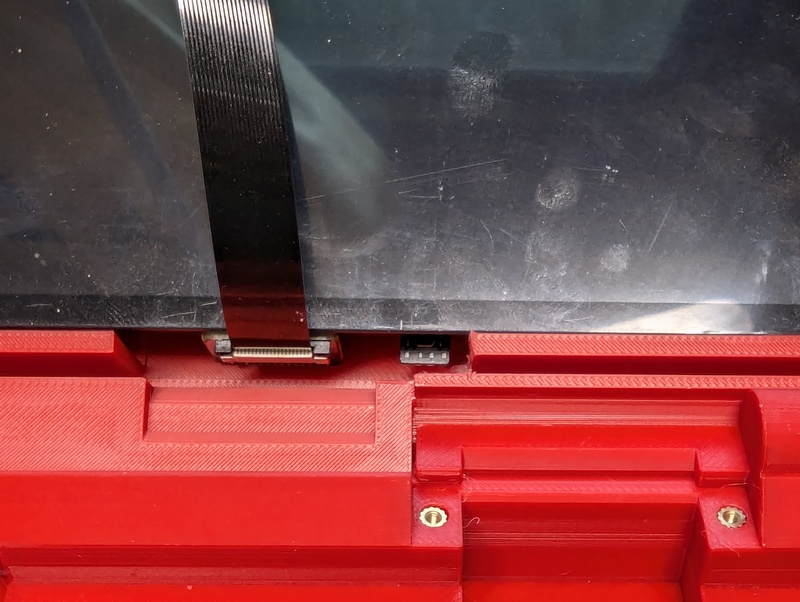
In addition I needed to modify the case to fit the usb connector as seen below.
Keyboard Cable
A cable is needed between the microcontroller on the keyboard and the micro USB connector on the Raspberry Pi. I made this cable using the same connector I used to power the display. I found due to the limited space in the case I needed to make my own cable.
I started with the Arduino Pro Micro that the original project used. Mine, an OSOYOO came with a USB-C connector instead of a micro USB. I thought this would be a better connector but I could not find a male connector or cable that would fit in the case. It might have worked if I had a Pro Micro with a micro USB connector, but in the end, I switched to an Adafruit KB2040 which has the D+ and D- pins broken out. This let me skip the connector completely and solve the space constraint issue.
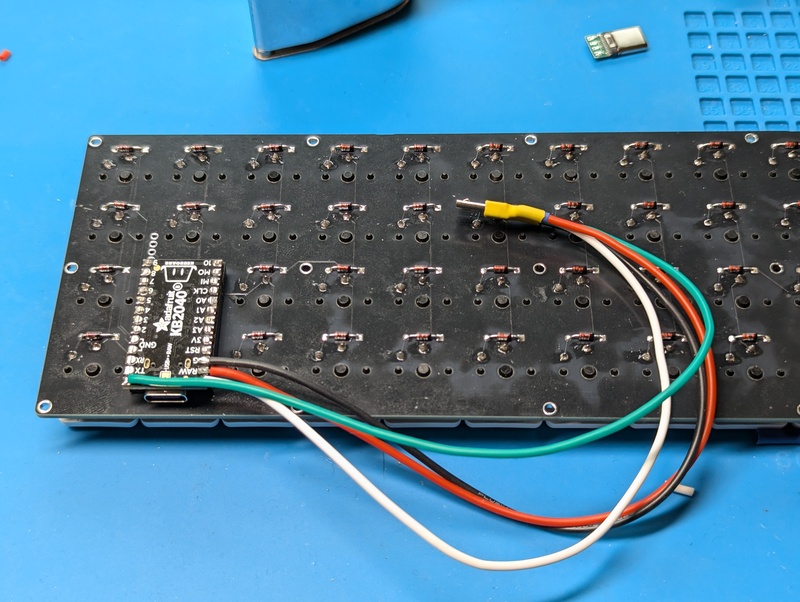
I decided to socket the KB2040 so that if something else went wrong I would not have to build a third keyboard. To keep the clearances low, I used a low-profile socket. I also used header pins with the black plastic spacer removed to further reduce the height. To make sure things fit in the header socket and get the depth of the pins right, I soldered the pins to the board with the pins inserted into the socket.
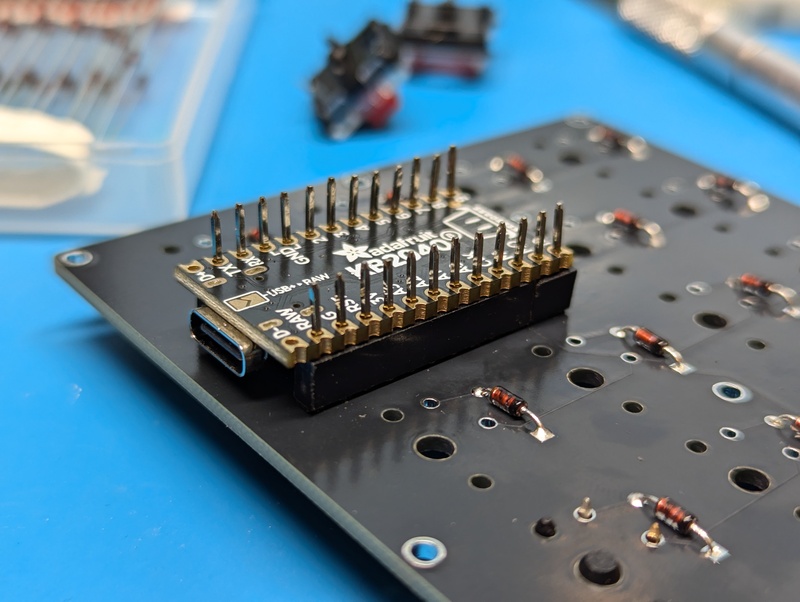
The KB2040 brought issues of its own. The QMK firmware for the keyboard has not been maintained and would not compile with the current QMK version. I have never worked with QMK and chose to write a quick driver with KMK, a simple to use Python-based firmware, instead of trying to modernize the QMK driver. You can find that at https://github.com/moore/penkesu-keyboard-kmk.
Power Switch
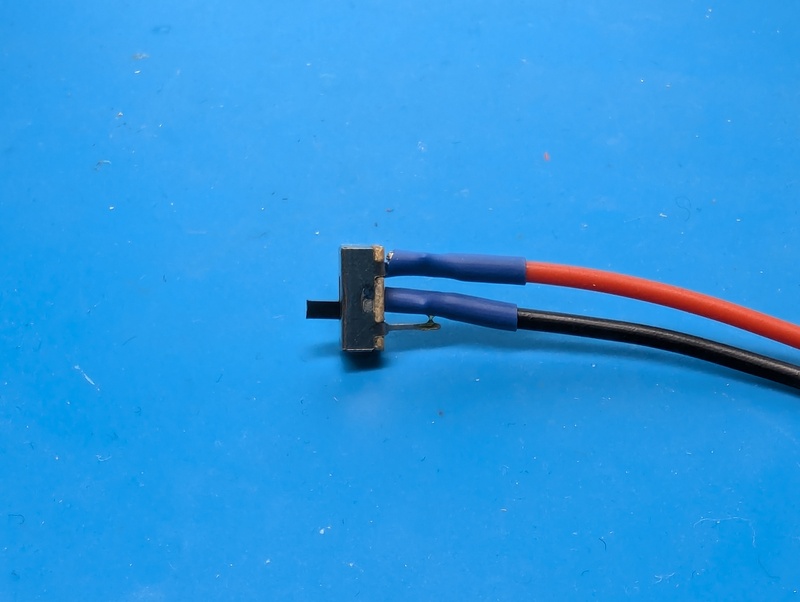
A switch is needed for power. I used an SS-12D00 switch, which fit well into the designated space in the 3D print. I secured it by applying epoxy to hold it in place.
The Heavy Display
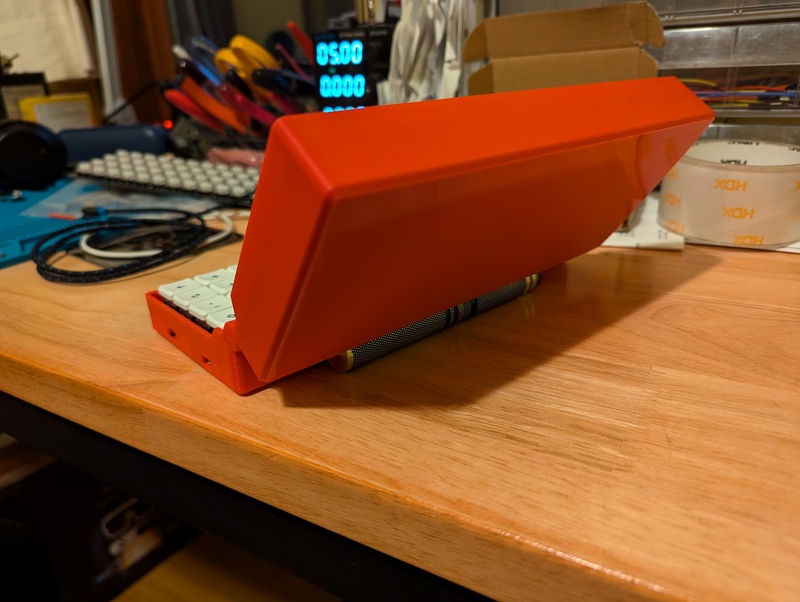
The display is clearly designed for non-mobile applications, it has thick glass, a metal backplate, and steel standoffs. Additionally the display controller is also mounted to the back. I believe the vendor expects one to mount a Raspberry Pi to the back of the display. All these design features means that the display is about 1 cm thick and accounts for most of the weight of the whole computer. As a result my screen will not sit at a useful angle unless there is something propping up the hinge. (This might also be because I did not correctly install the hinges.)
Hinge Orientation
The DS hinges used have detents in them, but it is not clear what the correct way to orient them is. I glued mine in so the detent was in the “latched” state when closed. This might have been wrong; there were no notes on the correct way to install them.
Other Notes
Cable Management and JST Connectors
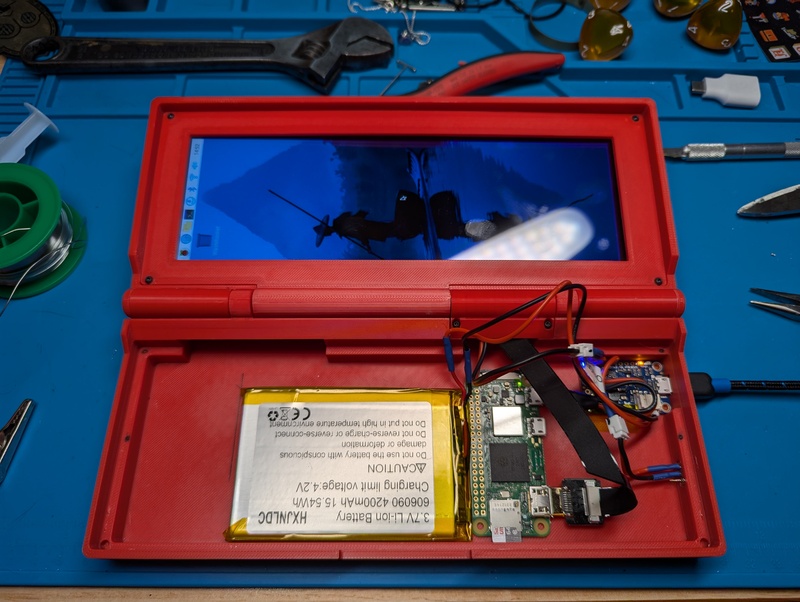
I connectorized a couple of the cables with JST connectors. This did help me when working out the design, but I have found them to make it harder to fit everything in the 1 cm space under the keyboard.
There are many cables that need to cross over each other. This, combined with the reality that my battery had to move to the right to leave space for the keyboard controller, meant that managing cables is quite fiddly. I should probably go back in and shorten some of them and remove the JST connectors.
Power Management
There are two issues with power management:
- The Raspberry Pi Zero does not have sleep mode.
- There is no access to the battery’s state.
The lowest power draw from the Raspberry Pi Zero 2 is around 100 mW, which is significant. There is also no lid switch to turn off the display or peripherals when closed.
The power control board does have a low battery pin that is pulled low when the battery is low. It would be worth adding logic to check that with a GPIO on the Raspberry Pi.
There are lights for power, charging, and low battery on the board but no pins for any but low battery. I might try to bring the light to the side with light pipes. One could also try and move the LEDs to the outside of the case by desoldering them and adding cables.
Touch Screen
The display has a touch sensor but the design does not use it. To enable it, a USB hub like the Adafruit CH334F would be needed; there is a single USB port on the Raspberry Pi Zero, and it is used for the keyboard. Adding the USB cord from the display and the USB hub could complicate cable routing further.
Display Rotation
To rotate the console, the following must be added to the kernel command line in /boot/firmware/cmdline.txt:
video=HDMI-A-1:400x1280M@60,rotate=270
Final Thoughts
I’m glad I built the Penkesu and have learned a lot from the process. It already serves well as a portable hack box. If you’re interested in building one and the cost of the screen fits your budget, I highly recommend giving it a try.
P.S. I have started collecting notes on my next build Trick-Box.